DTF Gang Sheet Preflight: Check This Before Auto-Nesting
A practical checklist for scale, transparency, quantities, spacing, and RIP proofing before DTF artwork is packed onto film.
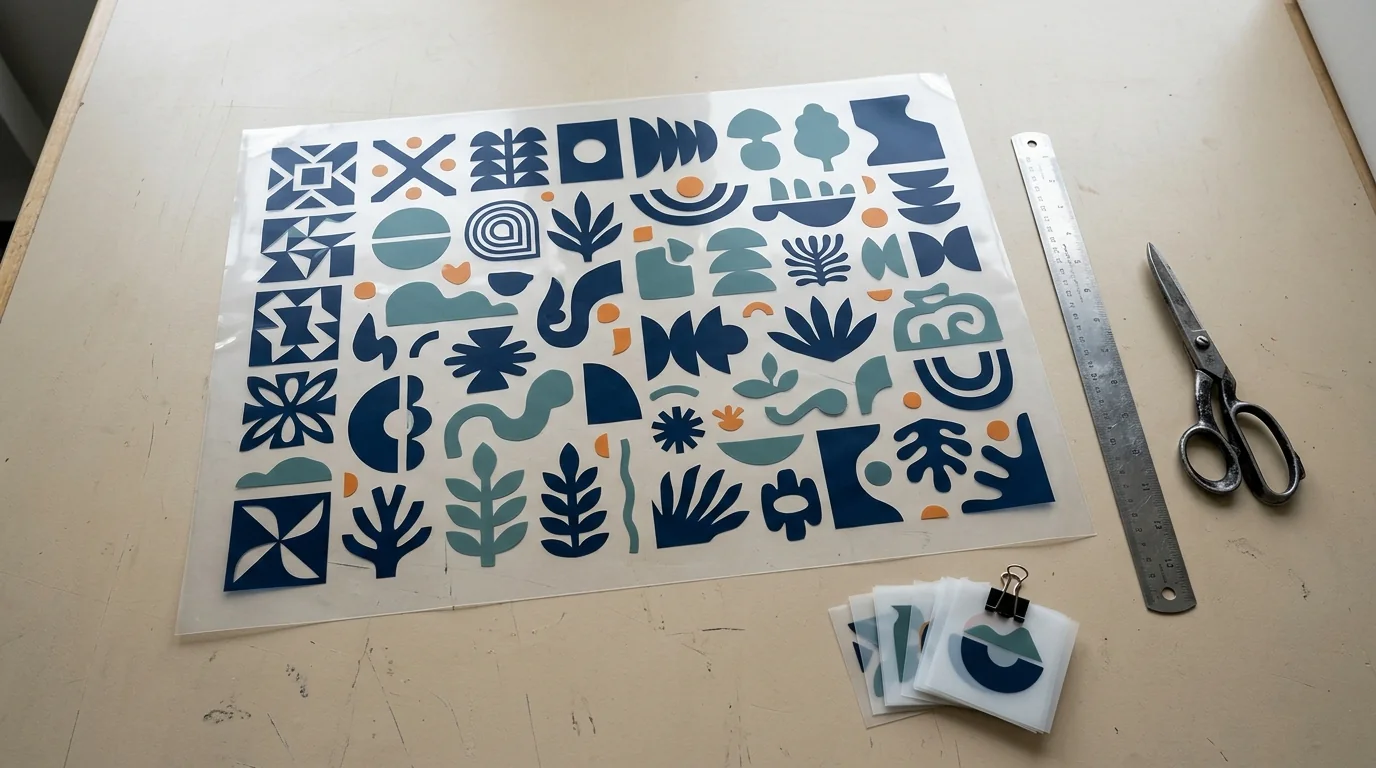
A gang sheet builder is very good at answering a narrow question: how can these shapes fit within this roll or sheet? It cannot decide whether the customer approved the right revision, whether a transparent edge is clean, whether a three-inch logo was accidentally scaled to three centimeters, or whether the white plate will print a halo around 40 copies.
That is why the best moment to catch an art problem is before auto-nesting multiplies it.
Treat preflight and nesting as separate stages
Preflight proves that each individual asset is ready to reproduce. Nesting arranges approved assets efficiently. RIP processing converts the finished layout into printer instructions. Those stages may happen inside connected software, but they answer different questions.
NestSheet's explanation of gang-sheet builders, nesting software, and RIPs draws a useful distinction between layout optimization and print processing (gang sheet builder vs. nesting software vs. RIP). Fiery Digital Factory likewise documents production tools for layout, job handling, and output as part of a larger workflow rather than a substitute for source-file review (Digital Factory 12.1 documentation).
Build your shop's handoff around that separation of responsibilities.
1. Lock approval, revision, and quantity
Every asset entering the sheet should have an unambiguous identity. Use a job or order number, design name, revision, final width, quantity, and orientation restriction. Avoid filenames such as "logo-final-FINAL-2.png."
Compare the production file against the customer proof, not against someone's memory. Check spelling, dates, phone numbers, small legal lines, and personalization. Count variants and sizes from the order before they are nested. If the layout contains 24 copies instead of 25, excellent material utilization is irrelevant.
A simple manifest can include:
- Order and line-item identifier.
- Approved filename and revision.
- Final width and height.
- Required quantity plus any intentional overs.
- Rotation allowed, restricted, or prohibited.
- Customer or internal approval timestamp.
Keep that manifest with the exported sheet.
2. Verify physical size before image resolution
Open each design at its final print dimensions. Do not rely on filename labels or embedded metadata alone. Measure the intended output width and height, preserve aspect ratio unless distortion was explicitly approved, and confirm that small text and details remain viable at that size.
Then evaluate pixel dimensions. A file can be labeled 300 PPI and still be too small if someone changed the metadata. Conversely, a clean larger source can be suitable when placed at the requested size. The useful calculation is pixels divided by final inches.
Keep vector source available for logos and flat art, even when the DTF workflow ultimately rasterizes the sheet. If the supplied logo is jagged, consider vectorizing it, then inspect the conversion and produce a fresh raster at final size. Vectorization does not create a valid white layer or remove every hidden background artifact.
3. Inspect transparency and edge pixels
Place every asset over white, black, and a saturated inspection color not used in the design. Look for white boxes, pale mattes, forgotten shadows, semitransparent noise, and soft pixels from background removal. Zoom into fine type and distressed textures.
This step deserves special attention because the RIP may derive a white underbase from the artwork's alpha channel. A dirty edge repeated across a gang sheet can become a repeated DTF white halo. Fix the source asset first; do not plan to rescue dozens of copies with one aggressive choke setting.
Also inspect intentional holes and negative space. Make sure they are truly transparent, not filled with white. A transparent checkerboard is a display convention, not proof.
4. Set nesting rules from the real finishing process
The smallest possible gap is not automatically the best gap. Spacing depends on how transfers will be cut, labeled, sorted, packed, and pressed. A shop trimming by hand needs a different working gap from one using an automated cutter with registration marks. Roll-fed production may need lead and trailing material beyond the visible artwork.
Define these values in a saved template for each output route:
- Printable roll or sheet width.
- Non-printable edge margins.
- Minimum item-to-item spacing.
- Space for cut paths, marks, labels, or barcodes.
- Lead and trailing allowance.
- Rotation policy and grain or orientation restrictions.
- Maximum sheet length the downstream team can handle.
NestSheet's practical gang-sheet guide similarly begins with canvas dimensions, image sizing, spacing, and transparent artwork (How to Make a DTF Gang Sheet). Use values validated on your equipment rather than copying a screenshot from another shop.
5. Protect orientation and pairing
Auto-rotation can save film, but some designs have a meaningful top: pocket logos, names, flags, directional textures, sleeve pairs, and art intended to be packed or pressed together. Mark those constraints before the optimizer runs.
Keep logical groups together when it helps fulfillment. A left and right sleeve pair separated by ten feet of film may be mathematically efficient and operationally annoying. The goal is not the highest theoretical fill percentage; it is the lowest total cost across print, cut, sort, and remake risk.
6. Review the nested result as a new production file
After nesting, proof the entire sheet at a readable scale and inspect critical areas at 100%. Confirm:
- Every required asset and quantity is present.
- No item was rescaled, stretched, cropped, or mirrored.
- Margins and spacing meet the selected template.
- Rotation rules were honored.
- Cut marks, labels, and barcodes do not overlap artwork.
- Duplicate transparent edges did not merge unexpectedly.
- The exported page or roll dimensions match the RIP job.
Use an independent count from the manifest. Do not trust a visually dense sheet to reveal a missing copy.
7. Proof color and white in the RIP
The nested file still has to pass through the actual DTF output path. Preview the color and white separations independently. Confirm the white plate's coverage and choke, rendering intent or color setup, print direction, copies, and media preset. Inspect small isolated features that may disappear from the white plate.
Gelato's overview of DTF production places RIP processing before printing, powder application, curing, and pressing—an important reminder that a finished layout is not yet a finished transfer (DTF printing workflow).
For a new printer, material combination, or important job, include a control strip or sample copy that can be pressed before the whole order moves forward. Keep notes on film, powder, cure, press time, temperature, and result according to your validated process and supplier guidance.
A compact release checklist
Before clicking print, require a second person or deliberate second pass to confirm:
- Approved revisions and spelling.
- Final dimensions, aspect ratio, and resolution.
- Clean transparency and intentional negative space.
- Correct quantities and variants.
- Valid sheet template, margins, spacing, and marks.
- Allowed rotation and required grouping.
- Successful full-sheet export and independent recount.
- Correct color and white RIP previews.
- Printer status and the intended media preset.
- Saved manifest and production file for traceability.
Use the broader DTF method guide and DTF file-preparation guide to establish your shop's standards. Then encode those standards into templates and checklists. Automation should remove repetitive placement work—not remove the moment when someone proves the job is right.
Frequently Asked Questions
Sources and further reading
We use primary documentation and current trade guidance, then apply editorial review for print-production context.
- How to Make a DTF Gang Sheet — NestSheet
- Gang Sheet Builder vs. Nesting Software vs. RIP — NestSheet
- Fiery Digital Factory 12.1 Documentation — Fiery
- DTF Printing Workflow — Gelato
Related Resources
Ready to Develop the Next Artwork Direction?
Build a print-aware creative brief, generate a concept, and keep the project history together for production review.