One Logo, Three Stitch Files: Why Placement Changes Embroidery
A left chest, structured cap, and towel can share one approved logo—but they should not share one untested stitch file.
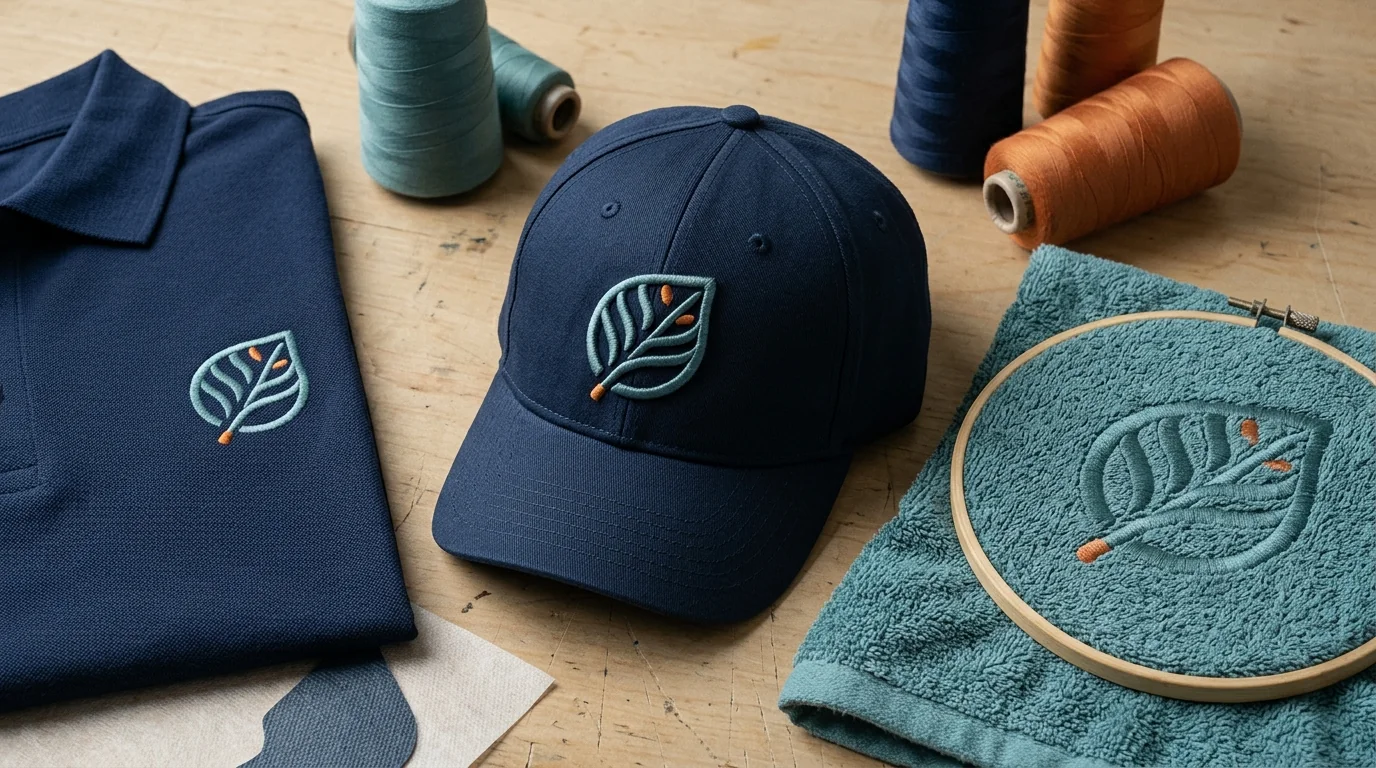
A customer has one logo and orders three products: polos, structured caps, and towels. Sending the same DST file to all three looks efficient. It is usually false economy.
The logo artwork describes what the mark should look like. The stitch file describes how a machine should build that mark in thread under a particular set of physical conditions. Change the finished size, fabric, hooping, backing, or surface, and the instructions may need to change even when the brand mark does not.
That is why a good embroidery library often contains several production files for one approved logo.
Start with one controlled logo master
Keep a clean source file with the approved proportions, colors, and allowable variations. This may be vector art or a high-resolution raster reference. It is not yet a machine-ready embroidery file.
Your master should identify:
- The official mark and any simplified small-size version.
- Approved thread-color targets or the closest available matches.
- Minimum readable text and details that may be omitted by agreement.
- Clear space and placement rules.
- The revision date and customer approval.
PrintCraft AI's embroidery workflow can help develop simpler source artwork with deliberate shapes. A vector conversion can provide clean outlines for the digitizer. Neither step assigns stitch types, underlay, pathing, trims, tie-ins, or machine commands; those decisions belong in digitizing software and must be proven with a sew-out.
File 1: the left-chest polo
A polo's knit fabric can stretch and shift as the needle penetrates it. The digitizer has to consider the garment's weight and structure, the finished logo width, the backing, and the way columns or fills push and pull the material.
Small left-chest text often determines whether the full logo can survive at the requested size. Simply shrinking a large back design reduces stitch lengths and spacing without reconsidering how the details form. A better file may simplify a tagline, widen narrow counters, change stitch types, or adjust spacing while protecting the recognizable mark.
Wilcom's documentation treats fabric, design settings, underlay, pull compensation, and stitch spacing as related properties—not cosmetic export options (EmbroideryStudio object properties). Its fabric guidance likewise explains that choosing a fabric can apply suitable settings as a starting point, while the digitizer still needs to review the result (choosing a fabric).
For the polo version, record the exact width, garment style or fabric class, backing, thread, needle, and any special treatment used in the approved sew-out.
File 2: the structured cap
A cap is not a flat polo rotated 90 degrees. The curved sewing field, center seam, crown construction, cap frame, and limited movement of the pantograph all influence how the design should run.
Many cap files are sequenced from the center outward so the design builds away from the center seam and reduces distortion. Long continuous elements crossing the seam, dense fills near the crown, and details placed too close to the lower frame boundary can create trouble. Depending on the cap and mark, the digitizer may split elements, alter the sequence, reduce height, or create a cap-specific simplified version.
The operator also needs to know that the file was digitized for a structured cap. A filename such as "client-logo-final.dst" carries none of that information. Prefer a convention that includes placement and size, such as "client-logo-cap-2.15in-v3.dst," plus a matching run sheet.
If hats are an important category for your shop, review the five common hat-artwork mistakes before the design reaches digitizing. Catching an impossible layout in the brief is cheaper than forcing it through a cap frame.
File 3: the towel
Terry cloth creates a different problem: the pile can swallow fine stitches and break up small negative spaces. The production plan may call for a water-soluble topping, suitable backing, more deliberate underlay, simplified detail, or an outline that keeps the fill visually distinct from the loops.
Density should not be increased blindly. More thread can make an area stiff, contribute to puckering, and lengthen the run without solving a structural problem. The digitizer should balance coverage with the towel weight, pile, backing, and finished size, then validate that balance in a sample.
The customer may accept a slightly bolder towel version because the alternative is a nominally identical mark that becomes unreadable in the fabric. Document that approved variation so the next reorder does not restart the discussion.
What changes between the three files
The logo's identity stays constant, but production variables can change:
- Finished dimensions: the same detail may stitch on a towel and fail at left-chest size.
- Stitch type: a narrow element might use satin at one size and another construction at a larger size.
- Underlay: stabilization needs vary with material, shape, and stitch direction.
- Pull compensation and spacing: knits, cap structures, and pile respond differently under tension.
- Sequence and pathing: cap construction can demand a different build order from flat work.
- Backing and topping: these are part of the tested system, not afterthoughts.
- Simplification: tiny type and internal spaces may require an approved alternate mark.
Modern auto-digitizing can accelerate the first pass, but Wilcom describes it as converting image objects into embroidery objects based on interpreted shapes and colors; that still leaves the production outcome dependent on settings and review (Wilcom auto-digitizing concept). Newer software continues to improve assisted workflows—Wilcom's ES 2026 release notes show active development across digitizing and production features—but assistance does not make fabric physics disappear (EmbroideryStudio 2026 release notes).
Build a placement-specific production record
For each approved version, save more than the stitch file. Keep:
- A photo of the approved sew-out on the actual or representative product.
- The machine format and native editable digitizing file.
- Finished width and height.
- Thread chart and color sequence.
- Stitch count, trim notes, backing, topping, needle, and hoop.
- Garment or material description.
- Version number, approval date, and operator notes.
That record turns future orders into repeatable production instead of archaeology. It also makes quoting and scheduling more honest because the team can see which file has already been tested for which placement.
The rule that prevents expensive reruns
Reuse the brand decision; do not blindly reuse the machine instructions. Start from the approved master, digitize for the destination, and sew out on the relevant material. One logo can remain perfectly consistent while three stitch files do the different physical work required to make it look that way.
Frequently Asked Questions
Sources and further reading
We use primary documentation and current trade guidance, then apply editorial review for print-production context.
- EmbroideryStudio object properties — Wilcom
- Choosing a fabric — Wilcom
- Auto-digitizing concept — Wilcom
- EmbroideryStudio 2026 release notes — Wilcom
Related Resources
Ready to Develop the Next Artwork Direction?
Build a print-aware creative brief, generate a concept, and keep the project history together for production review.