Stop Asking for 300 DPI: Wide-Format Resolution by Viewing Distance
Choose wide-format image resolution from final size, viewing distance, material, and RIP—not a universal 300 DPI rule.
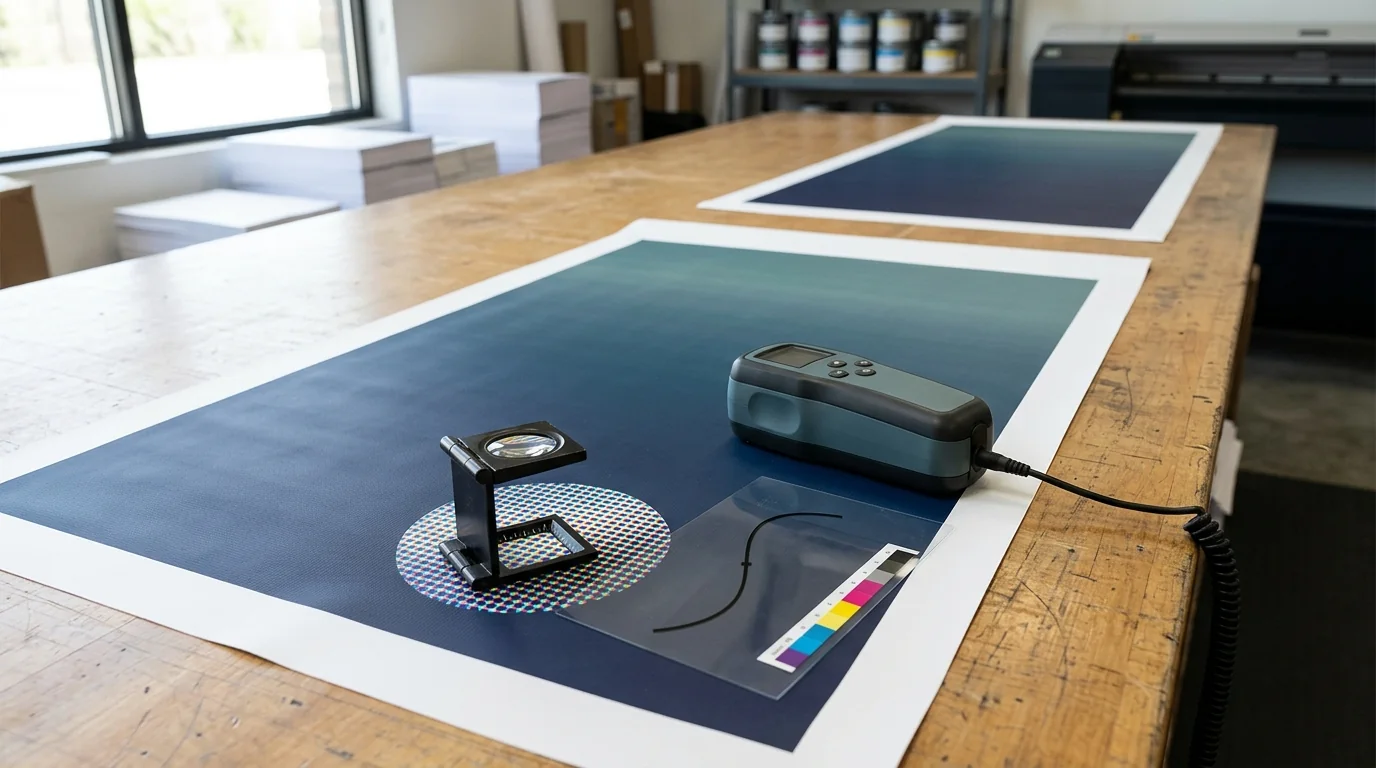
"Please send it at 300 DPI" is useful shorthand for a close-view brochure. It is not a complete specification for a storefront banner, trade-show wall, vehicle graphic, floor decal, or billboard.
Wide-format resolution should start with three questions: How large will the graphic be? How close will the viewer get? What can the specific print-and-finishing workflow reproduce? A single number without those answers creates one of two problems: an undersized image that looks rough at the intended distance, or an enormous file that slows preflight and RIP processing without adding visible detail.
PPI and printer DPI are not the same thing
Artwork resolution is usually discussed as pixels per inch (PPI) at final size. Device resolution is often described as dots per inch (DPI): the printer's ink placement capability. One source pixel can be rendered with multiple ink dots and channels. Setting an image to 1200 DPI in a layout application does not create missing scene detail, and a printer's advertised DPI is not the target PPI for every file.
Use the basic calculation:
Effective PPI = pixel dimension divided by final dimension in inches
A 6,000-pixel-wide photograph placed 60 inches wide has 100 PPI at output size. Place the same photograph 120 inches wide and it has 50 PPI. Merely changing the resolution metadata without resampling does not alter that pixel inventory.
Viewing distance changes what the eye can resolve
A museum panel that people read from 18 inches away needs more fine image detail than a banner mounted above a storefront. HP's current large-format guidance explicitly connects appropriate resolution to viewing distance and output type rather than imposing one universal value (Large-Format Printing Best Practices).
As practical starting bands—not universal specifications—many shops think in terms like these:
- Close-view displays and fine art: roughly 200–300 PPI when viewed inside two feet.
- Trade-show graphics: roughly 150–200 PPI around three to five feet.
- Posters and banners: roughly 100–150 PPI around five to ten feet.
- Outdoor banners: roughly 50–100 PPI beyond about twenty feet.
The correct number can fall outside those bands. A sharp technical diagram may need more edge detail than a soft photographic background at the same distance. Fabric texture, perforated vinyl, corrugation, ink spread, laminate, and printer screening can conceal or limit detail. Always ask the output provider for its target.
Work backward from the finished piece
Before creating or purchasing imagery, write a production brief with:
- Final trimmed dimensions and scale used in the layout.
- Minimum expected viewing distance.
- Substrate, print device, ink set, and finishing method.
- Required bleed, safe areas, seams, pockets, grommets, and panel overlaps.
- Target effective PPI supplied by the printer.
- Color profile and PDF standard requested by the workflow.
Then calculate the pixel requirement. If the provider requests 100 PPI for a 120-by-48-inch banner, the placed image should be about 12,000 by 4,800 pixels at final size. If the file is built at one-tenth scale, the placed resolution shown in the layout must be ten times the final effective target.
This calculation also tells you when vector artwork helps. Logos, type, rules, and flat shapes should generally remain vectors so they stay sharp without a giant pixel canvas. Photographs and painted textures remain raster and should be evaluated at final effective PPI.
Do not upscale by changing a label
Typing 300 into a resolution field with resampling turned off changes metadata, not detail. Turning resampling on invents pixels; modern enlargement can produce a smoother-looking result, but it cannot recover lettering, faces, product edges, or texture that the original never captured.
Judge an enlargement at the expected print size and viewing distance. Inspect critical edges at 100% output scale, then make a reduced proof that simulates the whole composition. For high-value jobs, print a cropped section on the actual device and material. A two-foot test strip answers more useful questions than a perfect monitor preview.
Resolution does not replace color management
A high-PPI file can still print the wrong color. Wide-format production also needs an appropriate output profile, calibrated device state, rendering choice, and a proofing plan. PRINTING United Alliance's 2026 PrintWide development work around G7+ highlights how color reproduction continues to evolve for extended-gamut workflows (PrintWide 2026a alpha profile). That work concerns predictable tone and color; it does not turn a low-detail source image into a sharp one.
Keep the concepts separate:
- PPI asks whether the source contains enough spatial detail at output size.
- Device DPI describes ink placement, not source-image detail.
- Profiles and calibration manage how color values reproduce.
- Gamut describes the colors a device and ink/substrate combination can represent.
- Viewing distance determines which defects and details are perceptible.
A reliable wide-format preflight
Before release, confirm:
- The layout reports adequate effective PPI at final scale.
- Logos and live type remain vector where practical.
- Fine type is appropriate for the material and viewing distance.
- Bleed and safe areas match finishing, not a generic template.
- Panel seams, wraps, folds, and hardware avoid critical content.
- Linked images are present and the PDF was exported to the provider's specification.
- Overprints, transparencies, rich blacks, spot colors, and white-ink layers have been previewed.
- A representative crop has been tested when the job risk warrants it.
The wide-format method guide can help shape the initial artwork brief. PrintCraft AI's art generator can help develop a composition intended to read at scale. Neither replaces the final output calculation or the printer's preflight requirements.
Replace the reflex with one better question
Instead of asking "Is this 300 DPI?" ask: "At final size and intended viewing distance, does this file contain enough detail for this device and material?" That question leads to smaller, faster files when distance allows—and better prints when people will see the work up close.
Frequently Asked Questions
Sources and further reading
We use primary documentation and current trade guidance, then apply editorial review for print-production context.
Related Resources
Ready to Develop the Next Artwork Direction?
Build a print-aware creative brief, generate a concept, and keep the project history together for production review.